1. In Member record screen, please click POS above the Member name.
![]()
2.Click the item/s to purchase. You may click the item/s multiple times depending on the quantity the member wants to purchase.
3. If you wish to apply discount, click the Apply discount button and enter the amount. Click the item to be discounted and click Apply to selected. Click "Apply to all" to apply discount to all the items. Click Done to return to POS items screen.
4. Click Pay Now.
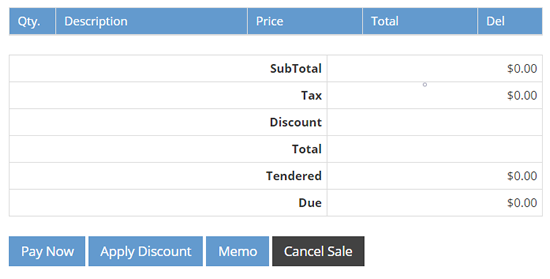
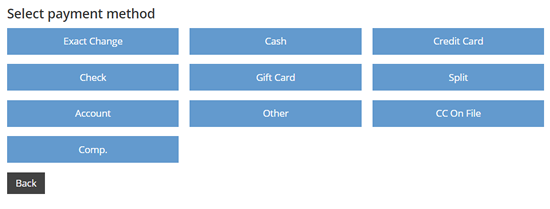
5. Select the payment method.
6. You may print or email the receipt. Otherwise, click done to complete transaction.
![]()
7. Click Cancel Sale if you wish to cancel.
If the customer is a new member and you wish to enter the information into the members' record, please follow these steps:
1. Open POS tab.
![]()
2. Click the Quick Add button and enter the required information.
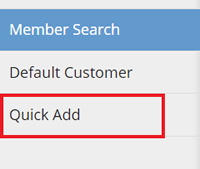
Click Create when done. The POS screen will be displayed with the member number/name on the upper right. (You can then continue to enter more information into the new member's record. Please click here and click Search a member record for reference).
3.Click the item/s to purchase. You may click the item/s multiple times depending on the quantity the member wants to purchase.
4. If you wish to apply discount, click the Apply discount button and enter the amount. Click the item to be discounted and click Apply to selected. Click Apply to all to apply discount to all the items. Click Done to return to POS items screen.
5. Click Pay Now.
6. Select the Payment method.
7. You may print or email the receipt. Otherwise, click Done to complete transaction.
![]()
8. Click Cancel Sale if you wish to cancel.
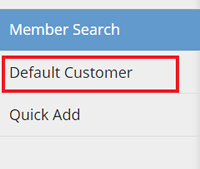
For non-members, simply click the Default Customer tab and continue with steps 2-8.
Search the member in the POS tab and follow these steps:
1. Click Account Payment tab.
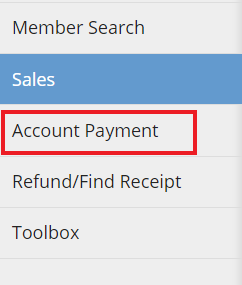
2. Click the balance to be paid.
5. Click Pay Now.
6. Select the Payment method.
7. You may print or email the receipt. Otherwise, click done to complete transaction.
![]()
8. Click Cancel Sale if you wish to cancel.
Locate the member in the POS and do the following steps:
1. Click the Refund/Find Receipt tab.
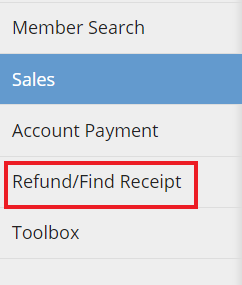
2. Enter the receipt number to refund.

3. Click Show receipt.
4. Click Refund now button.

5. Click Refund.
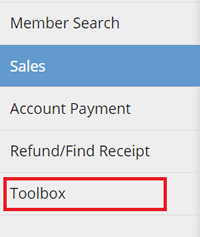
1.In the POS items screen, click the Toolbox tab on the left side of the screen.
2. Click the Open Cash Drawer button.

1. In the POS items screen, click the Toolbox tab on the left side of the screen.
2. Click the Inventory button.
3. Select a category.
4. Click the Add More link next to the product inventory that you need to update.
5. Fill out the fields and click Save.
If you wish to zero out the inventory, simply click the Reset to 0 link on the right side.
1. Each employee must reconcile their drawer after their shift has ended
2. On the POS screen (you can use any member for this, or use Default Member)
3. Click Toolbox on the left
4. Click Reconcile Drawer on the right
5. Enter your cash drawer start amount
6. Click Get Totals to see how much money and checks should be in the cash drawer
7. Enter the actual totals in the center column, you will see how much your drawer if off in the Difference column. Then click print to print a receipt of your totals for the day.
1. In the POS items screen, click the Toolbox tab on the left side of the screen.
2. Click the Change Cashier button.
3. Select the cashier name and enter password.
4. Click Save.
1. a. If you are viewing the Member's details or Check-in screen, click the POS tab under the member's name.

b. If you are viewing the POS screen, please find the member in the Search field.
2. Click Refund/Find Receipt on the left side of the screen.
3. Find the receipt that you want to reprint
4. Click Show Receipt on the right side of the screen.
5. Click Reprint Receipt button.
1. a. If you are viewing the Member's details or Check-in screen, click the POS tab under the member's name.
b. If you are viewing the POS screen, please find the member in the Search field.
2. Click Refund/Find Receipt on the left side of the screen.
3. Find the receipt that you want to void.
4. Click Show Receipt on the right side of the screen.
5. Click Void Receipt button.
6. Click OK on the browser message.