
How to take a members picture
1. After logging into the Check-in screen (or Member screen), Find the member that needs their picture taken.
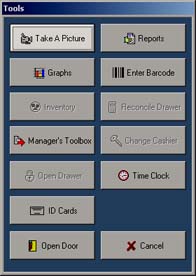
2. Click Toolbox.
3. Click Take A Picture.
4. The video settings will load for a short moment, then the current video picture will show on the left side of the screen. (if the picture window is black, (Windows XP or 2000) click the Load Video button, then the Back button, before taking the picture)
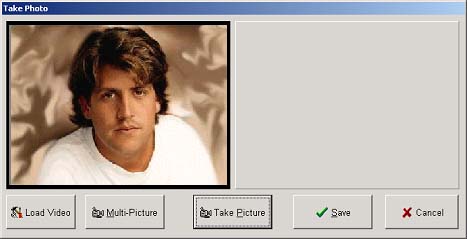
5. Select Take Picture to move the picture from the left side of the screen to the right.
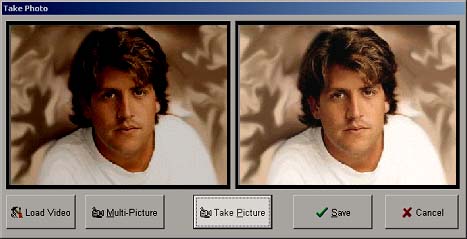
6. If the picture looks ok then select Save. If not, you can select Take Picture again or as often as you like, until you find one that is usable.
NOTE: This can also be done from the Members module. You can use any USB webcam for picture taking. We recommend the Quikcam Messenger or Procam from Logitech, which can be bought from Coral Springs Software (800) 827-2567.